How To Prepare Garden Beds For Planting Vegetables
Restoring Vegetable Beds After Soil Solarizing
The wait is over! After eight months, we can now prepare our vegetable beds. Spring is an exciting time to get going again in the garden, and I could hardly wait to get our veggies planted! Below are the steps we to took on how to prepare garden beds for planting vegetables and herbs.
There are a few things that are needed to be done first. Restoring the soil properties and prepping garden beds was a priority before any vegetables are planted. Last summer, to control the thriving colony of weeds that took over the raised beds, we use the soil solarization method. While it was effective in removing the weeds, we needed to restore the quality of the soil. Rich fertile soil needs nutrients, moisture, beneficial microbes, and air. Healthy soil equals veggie growing success!
Where we live in British Columbia, Canada can be rather wet over the winter season. As it is never a good idea to till soggy soil, we waited for a dry spell. By early March, we got our chance with a few dry, sunny warm days. And now, the beds are ready to be prepped and restored for growing our vegetables and herbs!
"Feed The Soil, Not The Plants"
Building great soil in your garden bed or vegetable plot is vital for health plant growth and successful production of crops. Following are our must-have soil improvers:
Compost and organic matter such as manure
Worm castings (think of earthworm poop!) which is excellent for prepping the soil
Slow-release fertilizers such as blood meal or bonemeal
Topsoil or good quality garden soil to add bulk and structure to the compost
Always test your soil especially after adding organic mater and soil amendments. This will help establish any adjustments needed and recommendations for adding nitrogen (N), phosphorus (P) or potassium (K). Test kits are available at most garden centres and DIY stores. It is important to test the soil before adding any other amendments such as additional liquid or slow-release fertilizer, or lime for adjusting the soil pH.
Bird Deterrent Tip To Protect Your Vegetable Garden
There is garden art, and then there is ‘working’ garden art. And our fake owl ‘scarecrow‘ has a job. Every spring, our plastic owl comes out to do his job. This particular fake owl comes with a hollow bottom to easily slide on a stake. This helps keep it raised above the ground.It can help scare birds away from your vegetable beds and especially away from your seedlings. Birds do eventually learn that the plastic owl is more decoration than a threat. Move it around the vegetable beds every few days to keep the real birds guessing. Depending on your vegetable beds’ size, consider having one or two bird deterrents at opposite ends of your garden.
Steps For Prepping The Garden Soil And Adding Compost
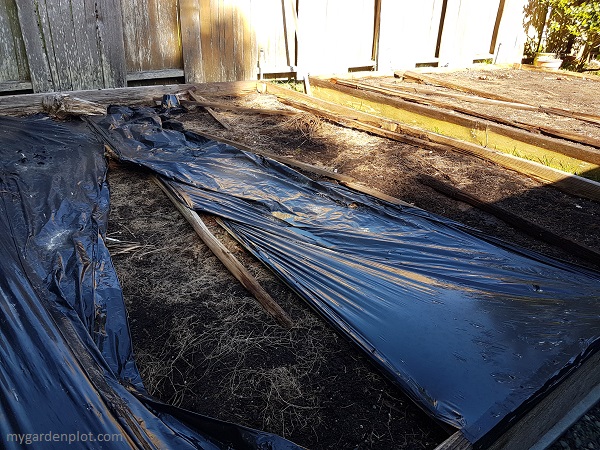
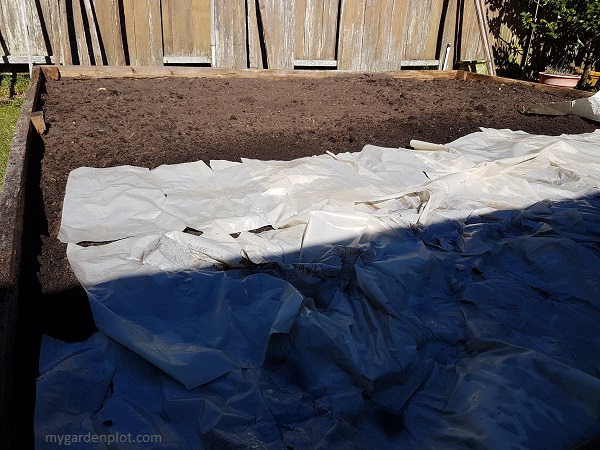
Garden Beds Covered with Black Plastic (photo by My Garden Plot)
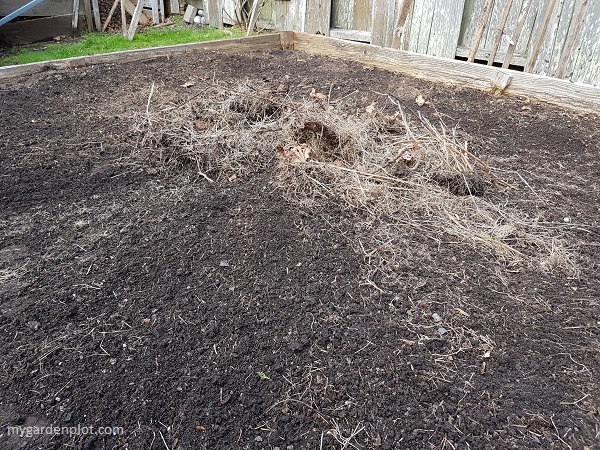
Raking dead weeds from garden bed (photo by My Garden Plot)
Since we used the soil solarization method, we needed to remove the black plastic sheets first. Under the plastic sheets, we found the dead, dried old weeds. Solarizing has its pros and cons, and while it works in killing weeds, pests and bacteria in neglected garden beds, it also kills the good stuff that makes healthy soil.
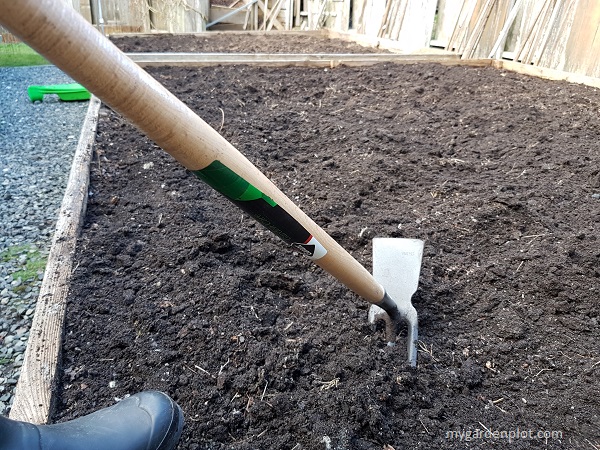
Next, we raked and removed all the dead weeds found under the plastic sheets. Then, using a tilling hoe (pitchfork works perfectly too), we loosened and aerated the compacted soil.
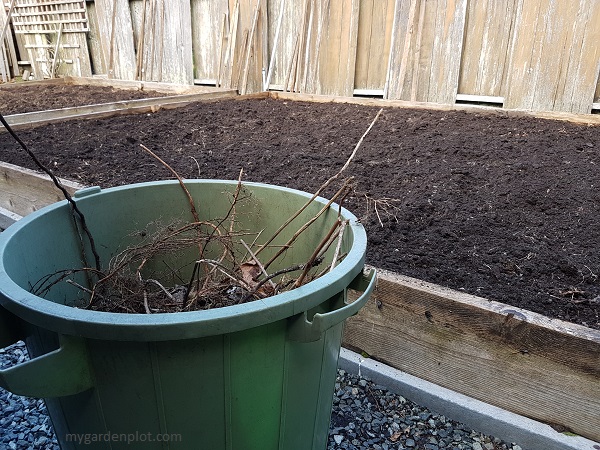
Removing old weeds from the vegetable beds
Tilling the soil (photo by My Garden Plot)
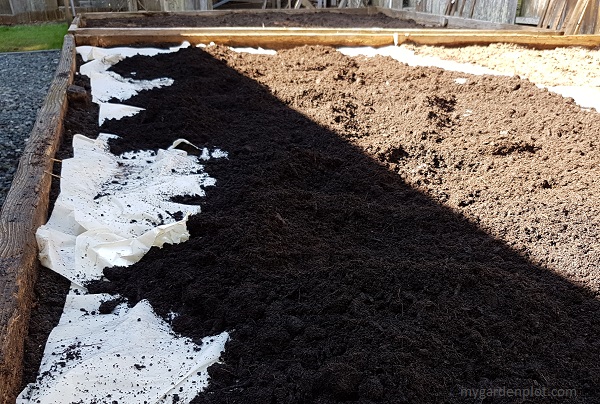
Certain areas were weed roots may still be particularly problematic; we wanted to make sure they would not come up again. In those areas, we placed a layer of old packing sheets and old newspaper as extra mulch. This helps control weeds without using chemicals in your garden. Make sure you overlap the sheets. Once placed, hose down the paper sheets until completely wet. If you have an area that needs heavier weed suppression, a layer of cardboard might be best using the same method.
Old packing paper and newspaper sheets soaked with water - great for weed suppression (photo by My Garden Plot)
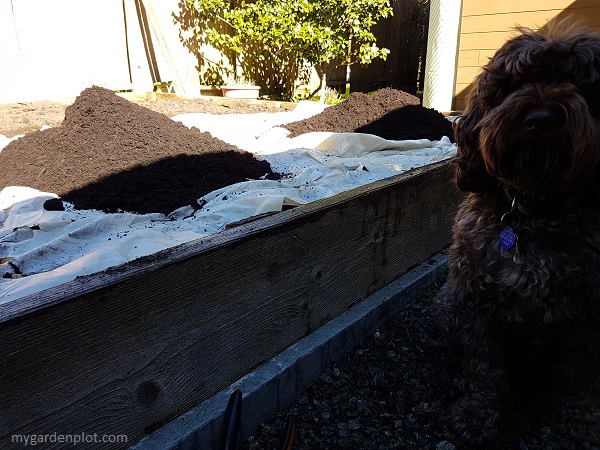
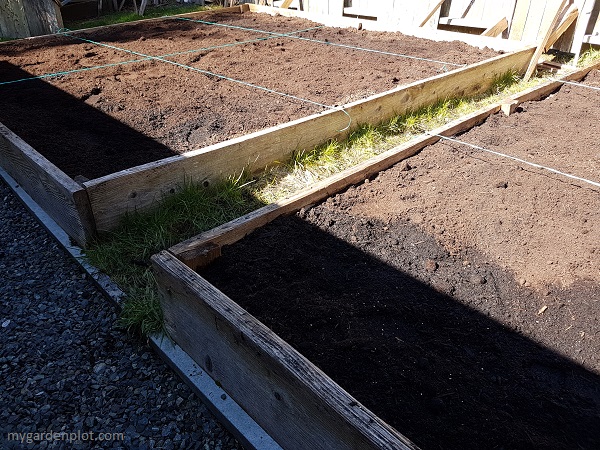
Compost added over wet old paper mulch (photo by My Garden Plot)
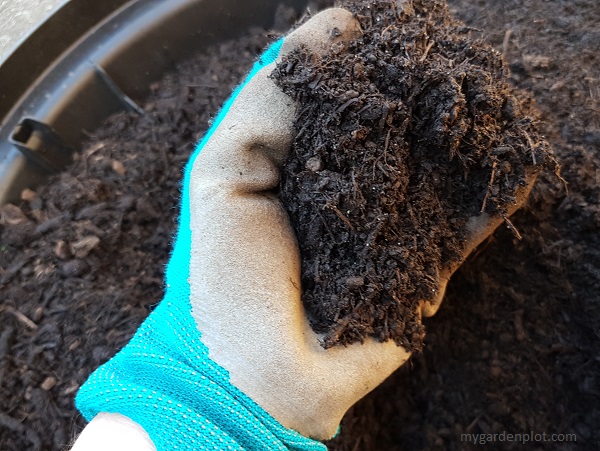
On top of the paper mulch, we then added rich organic compost and manure – at least five inches in depth. We decided on an organic Sea Soil product produced in Canada. But there are many great options available. Check your your local farmers and composting centres. Organic garden compost and manure has all the good stuff needed to restore the health of your soil – nitrogen, potassium, phosphorus, and micro-nutrients. There are various products available so you can decide what is best for your garden. Remember to use garden gloves to keep your hands clean and free of calluses.
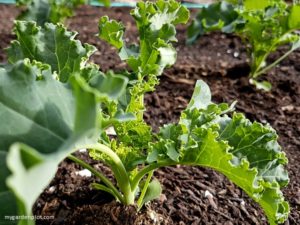
And now we are ready to get planting and growing our veggies!
Adding compost over wet paper mulch (photo by My Garden Plot)
Rick, dark and crumbly "black gold" compost (photo by My Garden Plot)
Like many websites we use cookies to ensure you get the best experience on My Garden Plot. If you continue to use this website we will assume that you are okay with it. Happy gardening!